

 Protect a single computer using our public firewall and VPN service. Simply follow these steps to make your connection.
Please note, this product is in a beta testing phase. It should not be resold, or relied upon to provide network security.
Step 1: Click here to download and install FortiClient VPN
The link above is for Windows. If you need to install the VPN client on any other device follow this link to find the right download.
After the download finishes, run the installer and power through all of the prompts. Next, next, yes, yes until it’s complete.
Step 2: Open the console and configure settings.
To open the console, find the blue shield icon in the system tray, right click, and then select “open console.” If there is no blue shield icon in the system tray, then open “FortiClient VPN” from your start or applications menu.
Click on “configure VPN” and input the settings as follows:
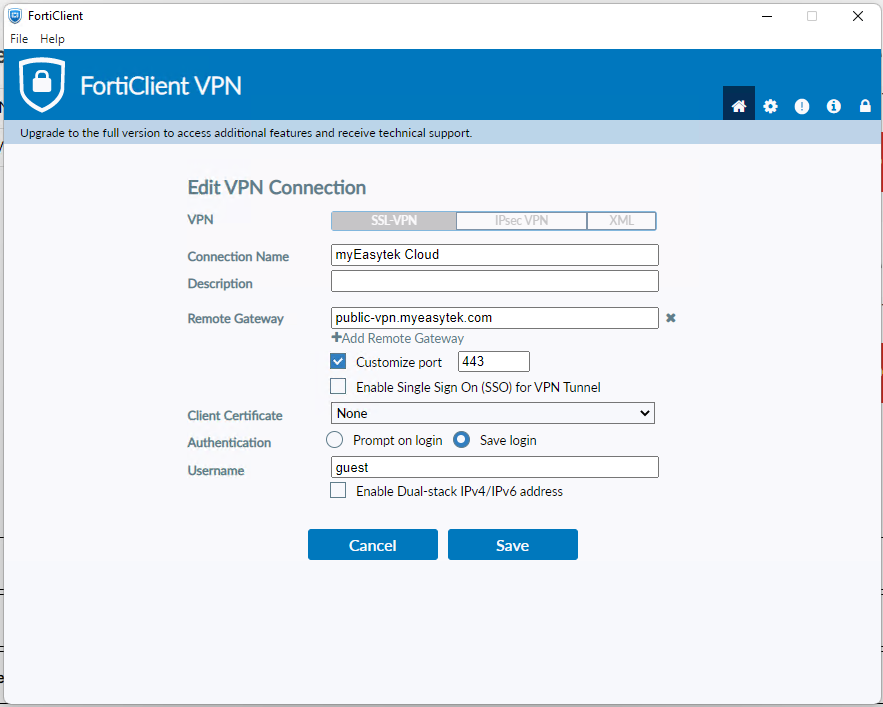
Select “Save” and then proceed to the next screen.
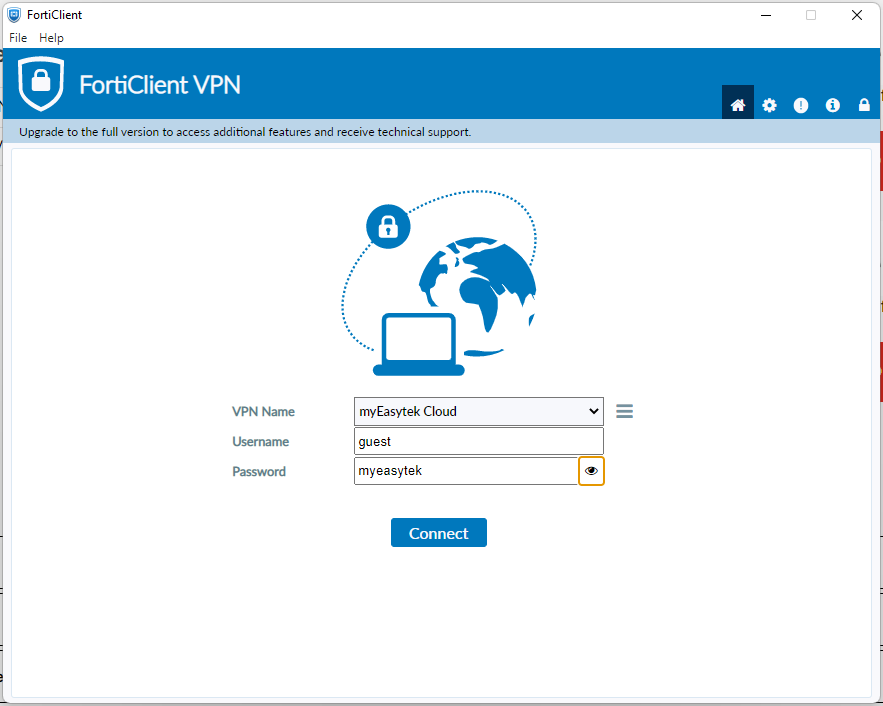
Step 3: Enter the credentials
The username is “guest” and the password is “myeasytek”. Click “connect” and it will start the connection process. if you see a certificate warning select “accept” or “ignore.”
Step 4: Verify the connection
Go to https://ipchicken.com and see that your IP shows as 20.40.208.31, which is the IP address of the cloud based firewall.
